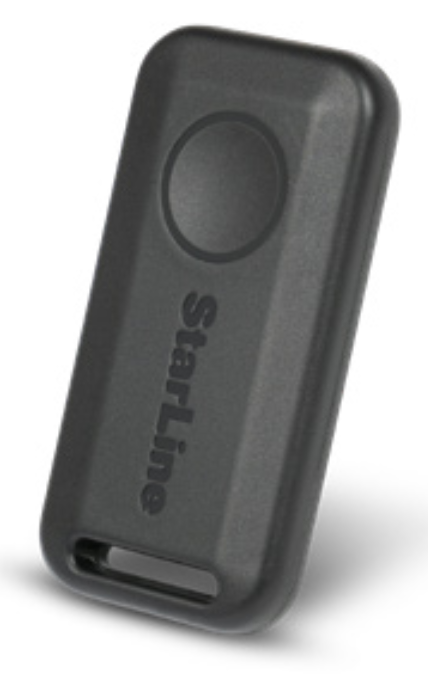
Control with wireless tag (transponder) (optional accessory)
The included and optional tags are supplied from factory in transport (power saving) mode, i.e. inactive! Pushing a tag button in this mode is indicated by green and red alternating flashes of the built-in LED. To switch it to normal mode push a tag button several times until flashing color turns to green.
Connection check
- green–Regular mode, Anti-hijack is disabled
- red–Anti-hijack mode is enabled
- yellow–Service mode is enabled
Control over security system
Duration of a tag button pushing:
- short – push and release button, followed with a flash of corresponding current operation mode;
- long–push and hold button until LED begins flashing.
Duration of long push are of 2 levels:
-
1 level – push and hold button followed with double short
flashes of a current operating mode and then long flash at
which button must be released;
-
2 level – push and hold the tag button followed with double
short flashes of a current operating mode, then one long flash
and then followed with serial flashes at which button must be released.
|
Command
|
Button push
|
|---|---|
| Arm/Disarm | 1 short |
|
Enable / disable Anti-hijack by a tag away |
long 1 level |
| Enable/Disable Service mode |
long 2 level |
Replacing a tag battery
Wireless tag (transponder) is equipped with CR2032 type Li-ion battery.
Tag battery discharging is indicated with 3 sounds of embedded main unit buzzer (or siren) at ignition On and owner is notified with text message to his phone number. Then battery must be replaced as soon as possible.
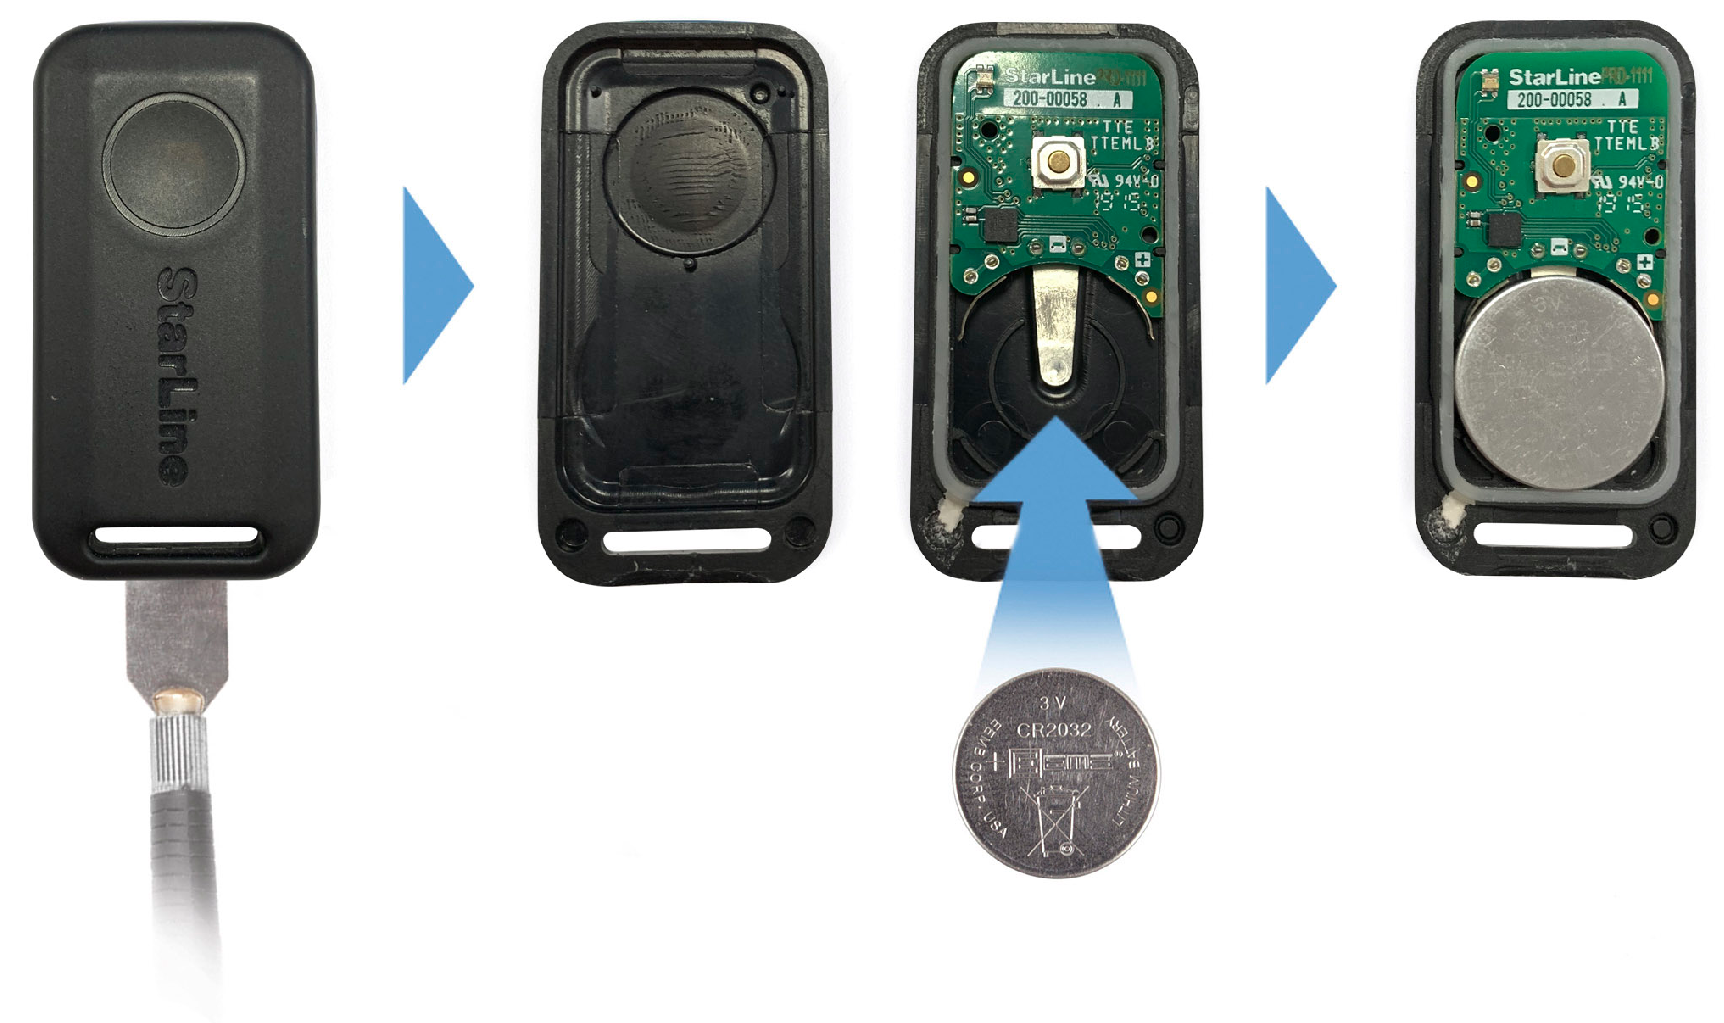
To replace battery open a tag casing carefully with a flat metal or plastic item, remove discharged battery from slot. Install a new battery in the slot observing correct polarity (positive side up, as shown on picture). Then fix a cover back. Tag is ready for operation.
A smartphone with support of Bluetooth 4.2 and above can also be used as a tag. See Devices registration article to pair a smartphone as a tag.


